Updated Key Wristlet Tutorial

As promised, here is the updated tutorial for the key wristlets that I have made over the years to give as gifts. I made these three for Valentine's Day this year with coordinating tissue cozies for something different than candy!

I have given these out for gifts over the years and have made one for myself as well! I really like how easy it is to see my keys with the cute fabric!

This is the fabric pattern that I chose to create the tutorial using. My son is in an ensemble for choir at school and I wanted to put a little thank you gift for the piano accompanist.

Step 1: using a rotary cutter, mat, and ruler, cut a strip of fabric measuring 4 inches wide by 10 inches long (or longer depending on your desired finished product).

Cut a strip of felt or thin batting measuring 1 inch or slightly smaller. This will get tucked in the middle to give the wristlet that nice curled shape.

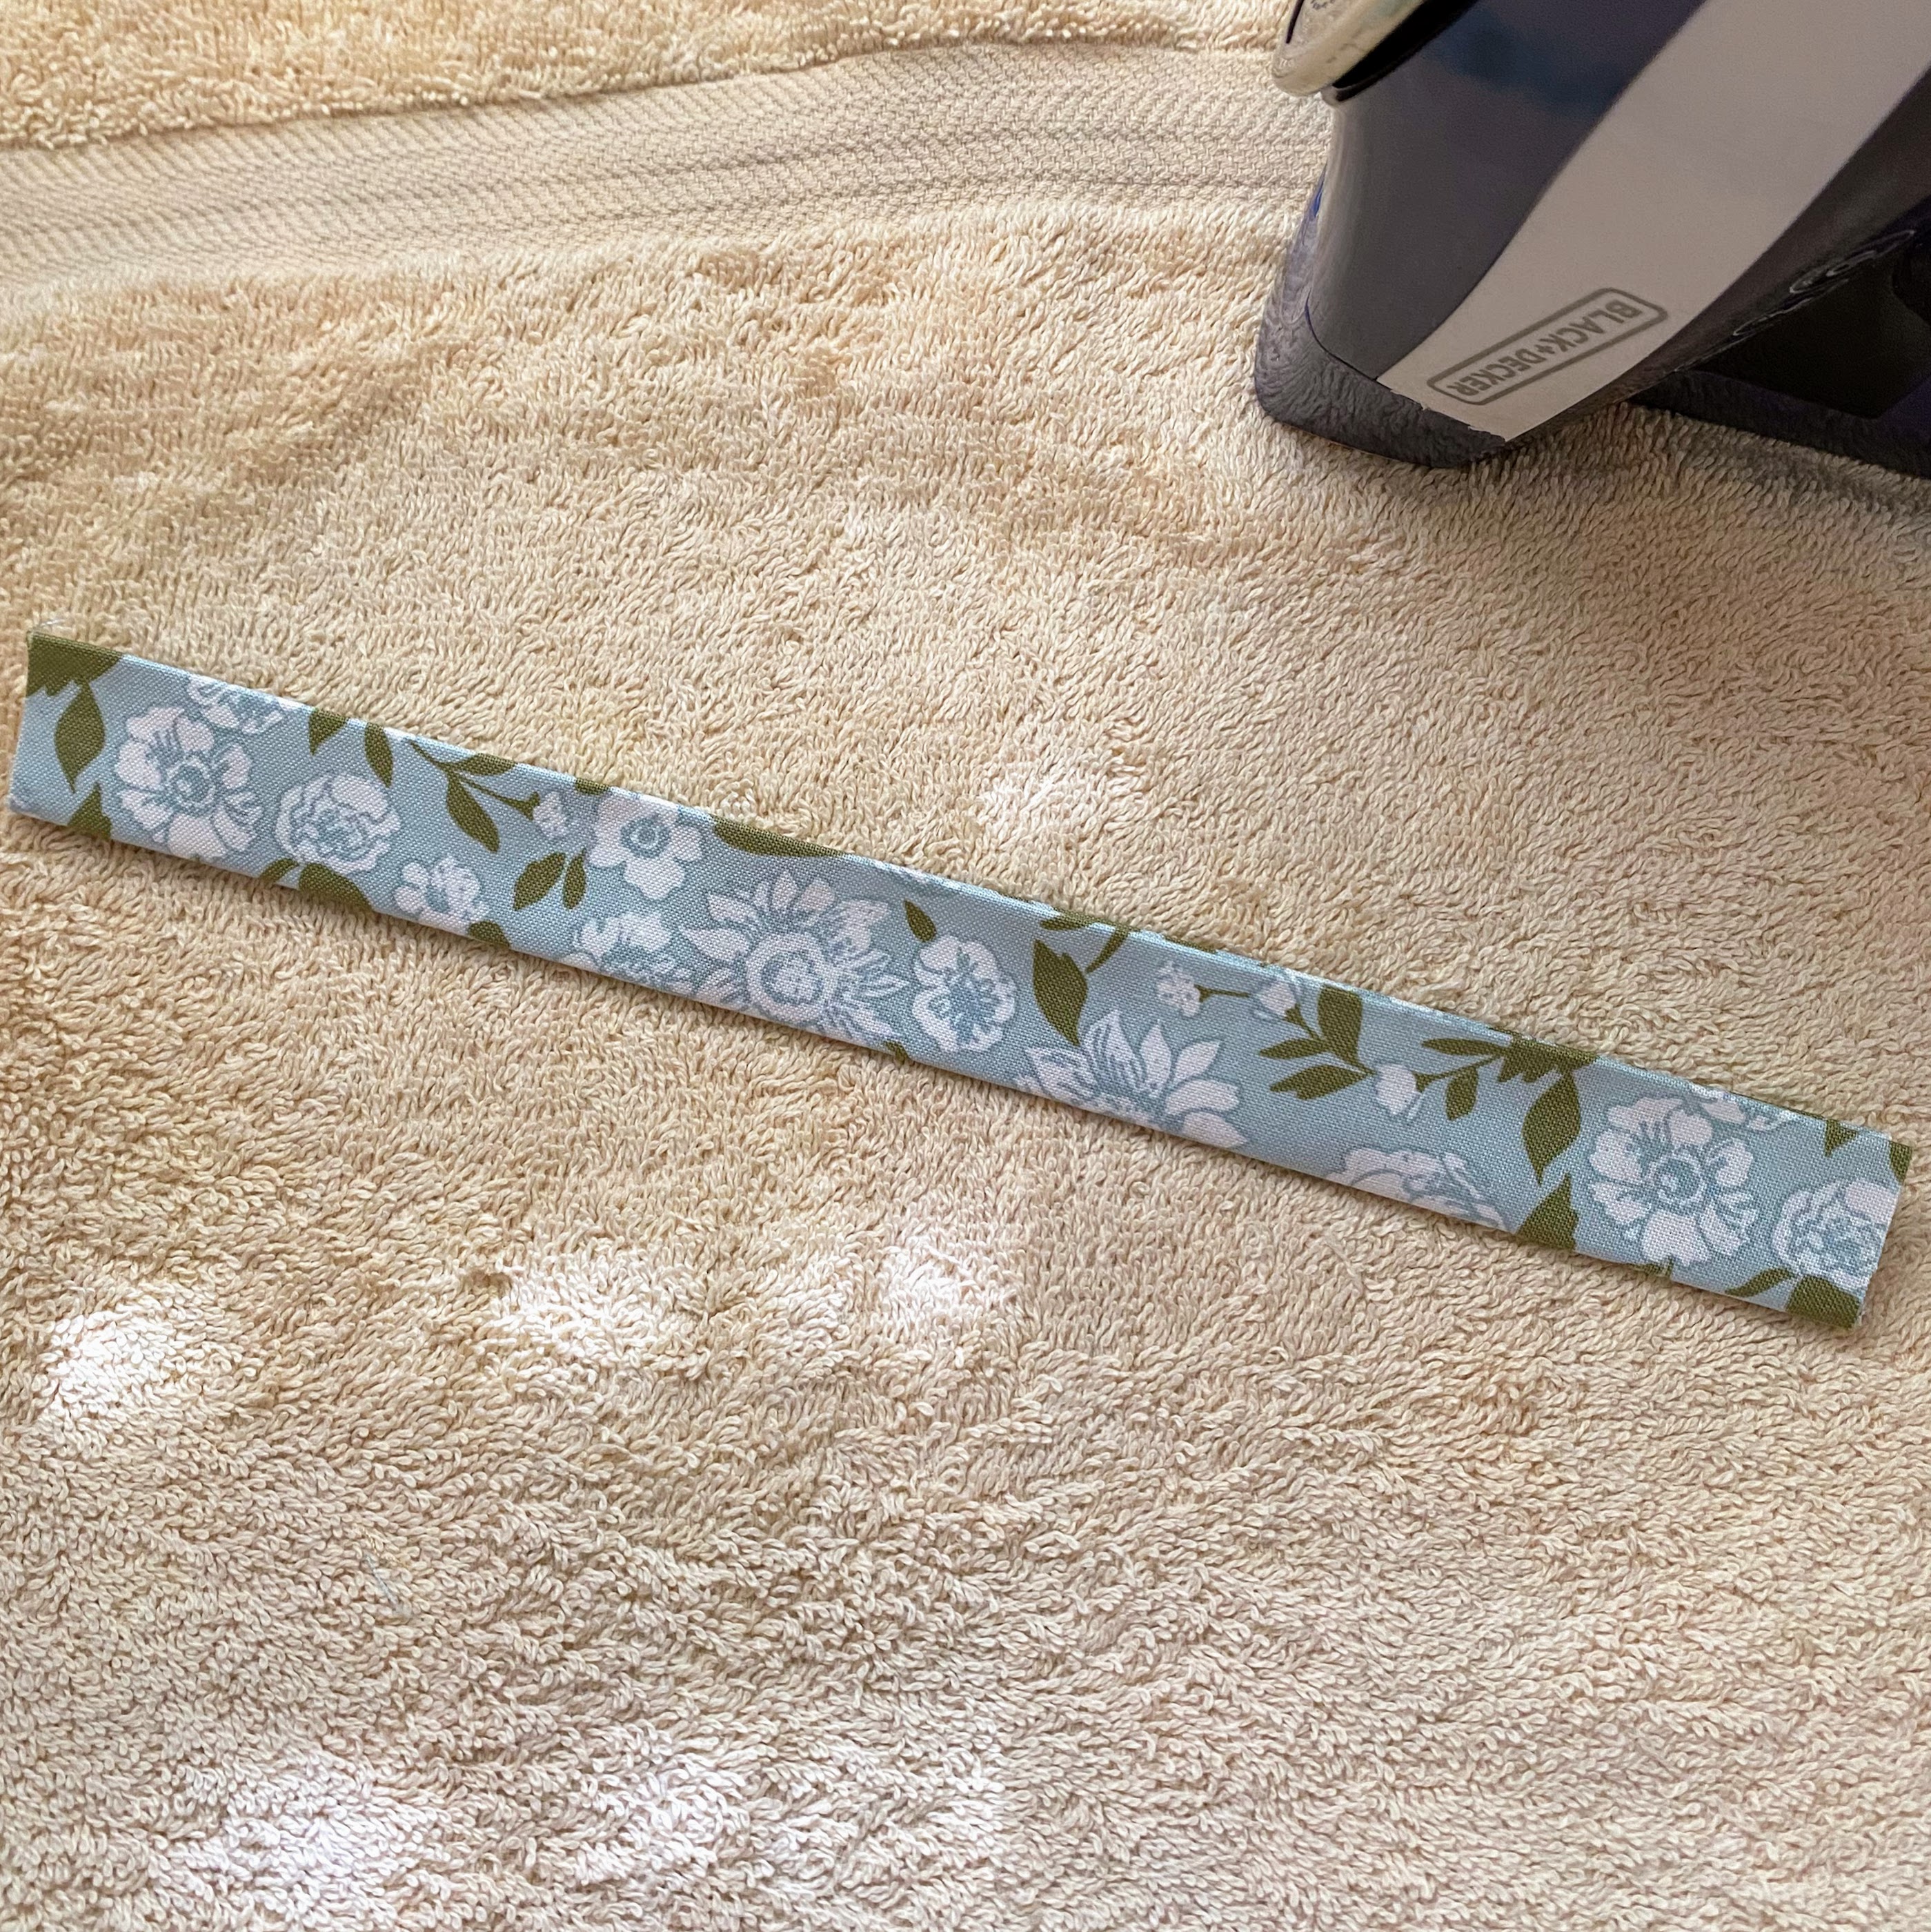
Fold the piece in half lengthwise and iron crisply.

Open it back up and then press one side toward the center line.

Repeat with the other side.
Fold in half again and press crisply with the iron.

Sandwich the felt in the middle, making sure to tuck the long side as close to the center fold line as tightly as possible.

Sew the entire length using the edge of the INSIDE of the presser foot as your guide.

Repeat on the other side.

Sew another line using the OUTSIDE of the presser foot as the guide. Line it up with the stitch line. Repeat on the other side.

If you are going to add a label, like I did for the Valentine's Day ones, you'll want to do it for this step. Fold it in half and sew along the edge, making sure to add the label if you're going to do so. A sweet blog reader found the exact labels I have been using (I bought mine years ago from a local quilt shop and figured they were long gone) and she shared the link with me. You can find them HERE.

Even if you aren't adding the label, please sew it like I've shown here. It is easier to stuff it into the hardware! LOL! I give the hardware a bit of a squeeze to close it a little bit before I actually attach it to the fabric. It's a little bit tricky to hold the fabric in place AND squeeze it shut with it open the full amount. You can find the hardware that I've used HERE. It comes with three different finishes, which I love and it comes with the rubber tipped plyers. It helps so the hardware doesn't get scratched. Please note: there are two sides to the hardware (obviously) but one side is the backside and is not clean and pretty, so make sure if you're using a label, that the pretty side goes with the pretty side of the hardware.

Tuck the end of the fabric in all the way to the back of the hardware and give it a good squeeze ( or two or three).

And just like that, you're finished! These are so fun to make; you'll be wanting to give one to all of your friends! Thanks for joining me today!


Comments