Keeping Christmas {Tiny Sewn Stockings} and tutorial
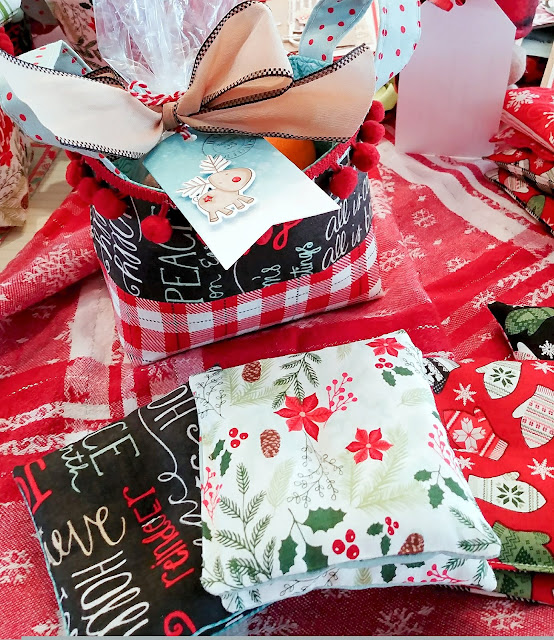
Hello! It's been a while since I have posted anything on this blog, so I am thrilled to be here today sharing a fun project for my Keeping Christmas series . I was given the cutest little stocking filled with candy and treats for Christmas 2018. I kept it on the window sill above my desk so that it could remind me that I wanted to see if I could recreate it. My cute Stampin' Up! demonstrator gave it to me for Christmas and I think it was part of their "Paper Pumpkin" line, but I could be wrong. I turned it inside out and traced it so that I could make some of my own. I do want to let everyone know that I am not claiming that this pattern is mine. I simply traced it and am now sharing it here. I will include a printable file for you, but our computer is in the shop right now so I can't get it uploaded. I will edit this post as soon as it becomes available. To begin, I pinned the pattern onto a double thickness of fabric right sides together. I trimm